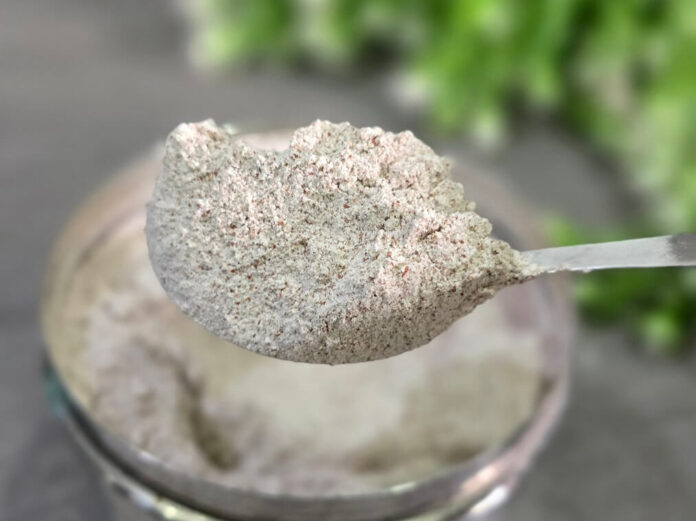
Sprouted Ragi Flour – a nutrient-rich, gluten-free flour made from sprouted finger millet
Ragi, also known as finger millet, is a superfood that has been a staple in Indian diets for centuries. Sprouted ragi flour takes this nutritious grain a step further. By sprouting the ragi before processing it into flour, the grain undergoes significant changes. The sprouting process makes the flour more nutritious, lighter on the stomach and easier to digest.
Jump to
About Sprouted Ragi Flour
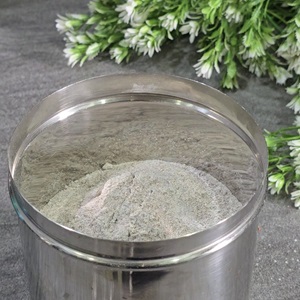
Sprouted Ragi flour is made by sprouting finger millet before grinding it into fine flour, enhancing its nutritional value. Sprouted ragi flour is versatile and can be used in a variety of dishes such as porridge, dosa, idli, laddoos, roti, parathas and even baked goodies.
You can make sprouted ragi flour at home in a few simple steps. The millets need to be soaked, sprouted, dried and ground to a fine powder.
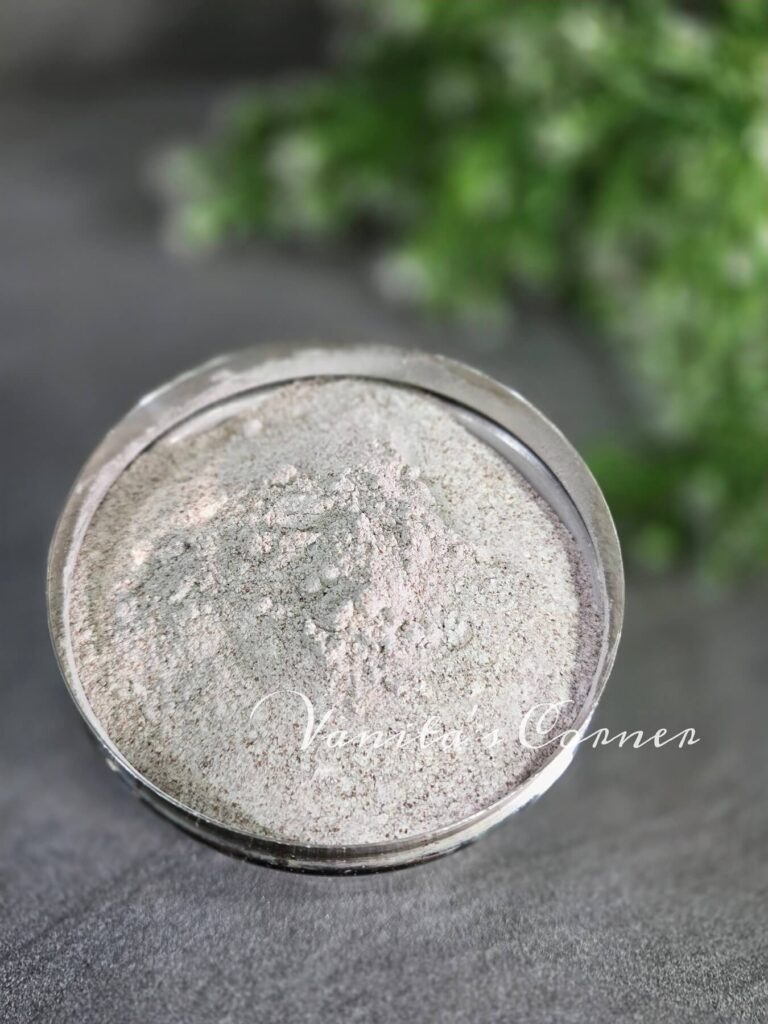
Step-wise instructions to make Sprouted Ragi flour with pictures.
In a bowl add ragi (finger millets).
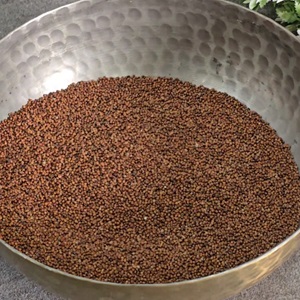
Add water and wash the millets well 3 to 4 times . Keep changing the water until it runs completely clear. This step ensures the removal of dirt and impurities.
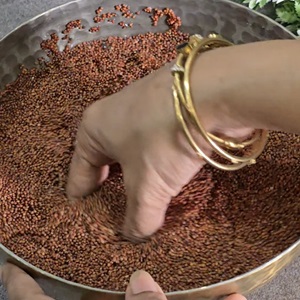
Now soak the millets in fresh water for 6 to 7 hours. This rehydrates the grains and prepares them for sprouting.
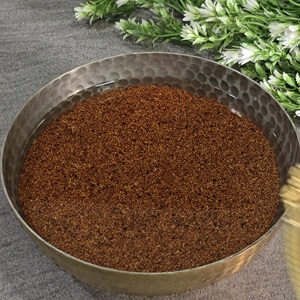
After 7 hours, drain the water completely and transfer the soaked ragi to a fine strainer.
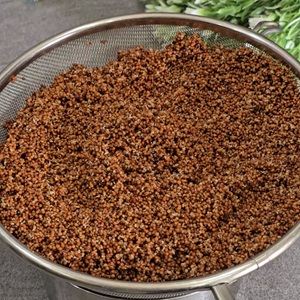
Place the strainer over a small bow. Ensure that the bowl is smaller than the strainer. Cover the strainer with a lid.
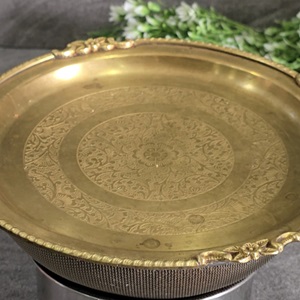
Leave the ragi undisturbed for about 12 hours. After 12 hours, you will notice small sprouts emerging from ragi.
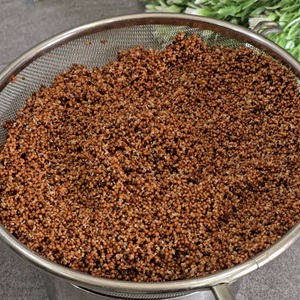
If you prefer longer sprouts, cover it again and leave it for another 12 hours. After 24 hrs, the ragi has well sprouted.
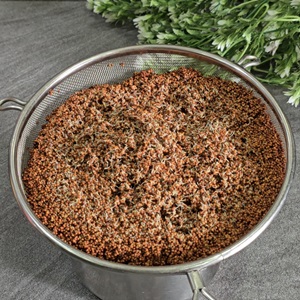
Spread sprouted ragi on a tray and cover with a muslin cloth and dry it under the sun for a day. Sun drying ensures the grains dry out thoroughly, which is crucial for grinding them into flour.
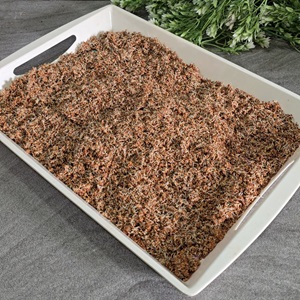

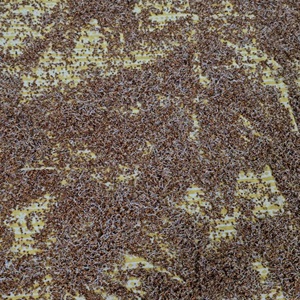
If sun drying is not an option, you can spread the sprouted ragi on a clean cloth and dry it under a fan.
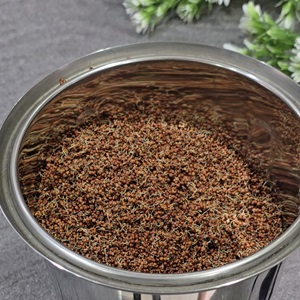
Once the sprouted ragi is completely dry, transfer it to a mixer jar and blend it into a fine powder.
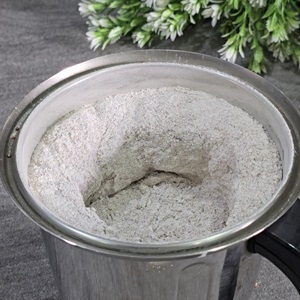
Store the sprouted ragi flour in an airtight container to preserve its freshness. It stays good for weeks when stored in a cool, dry place.
Recipe Card
Sprouted Ragi Flour | Sprouted Finger Millet Flour
Ingredients
- finger millets (ragi/nachani)
Instructions
- In a bowl add ragi (finger millets). Add water and wash the millets well 3 to 4 times . Keep changing the water until it runs completely clear. This step ensures the removal of dirt and impurities.
- Now soak the millets in fresh water for 6 to 7 hours. This rehydrates the grains and prepares them for sprouting
- After 7 hours,drain the water completely and transfer the soaked ragi to a fine strainer.
- Place the strainer over a small bowl. Ensure that the bowl is smaller than the strainer and that the soaked ragi is exposed to air through the strainer. Cover the strainer with a lid.
- Leave the ragi undisturbed for about12 hours. After 12 hours, you will notice small sprouts emerging from ragi.
- If you prefer longer sprouts, cover it again and leave it for another 12 hours.
- After 24 hrs, the ragi would be well sprouted.
- Spread sprouted ragi on a tray and cover witha muslin cloth and dry it under the sun for a day. Sun drying ensures thegrains dry out thoroughly, which is crucial for grinding them into flour.
- If sun drying is not an option, you can spread the sprouted ragi on a clean cloth and dry it under a fan.
- Once the sprouted ragi is completely dry, transfer it to a mixer jar and blend it into a fine powder.
- Store the sprouted ragi flour in an airtight container to preserve its freshness. It stays good for weeks when stored in a cool, dry place.
Notes
- Ensure the ragi is dried thoroughly before grinding; any moisture can cause the flour to spoil.
- For an even finer texture, you can lightly roast the dried sprouted ragi before grinding. This step also enhances the flavor of the flour.
- Always use clean and dry utensils to handle the flour to maintain its shelf life.
Watch Video
Related Recipes
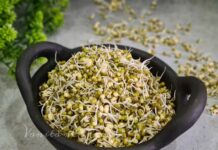
How to sprout Moong
How to sprout Horsegram
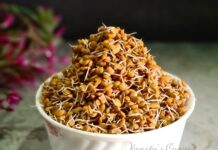
How to sprout lima beans / Vaal
Thank you for stopping by. If you like/ tried this recipe, leaving a comment below the post will enable more readers and cooking enthusiasts to discover these recipes. Also, if you are on Instagram, do share a picture of the dish and tag @vanitascorner to be featured in my stories.
Do follow me on Instagram, Facebook and Pinterest.
Subscribe to my youtube channel for easy video recipes.
Happy Cooking!!

