

Sprouting is a process where seeds and pulses are germinated. The seeds/ pulses are soaked in water for few hours. When these soaked pulses are exposed to right moisture and temperature, they get sprouted. Sprouting enhances the nutritional value of the pulses, seeds and aids better digestion.
You can sprout moth beans (matki), green gram (moong), black gram (chana), fenugreek seeds (methi seeds), whole red lentils (whole masoor), finger millet (ragi), quinoa etc. Germination time varies depending on the seeds/ pulses and also temperature. For eg. Moth beans (matki) need less soaking time, whereas black gram (chana), lima beans/field beans (vaal) need to be soaked for a longer period of time.
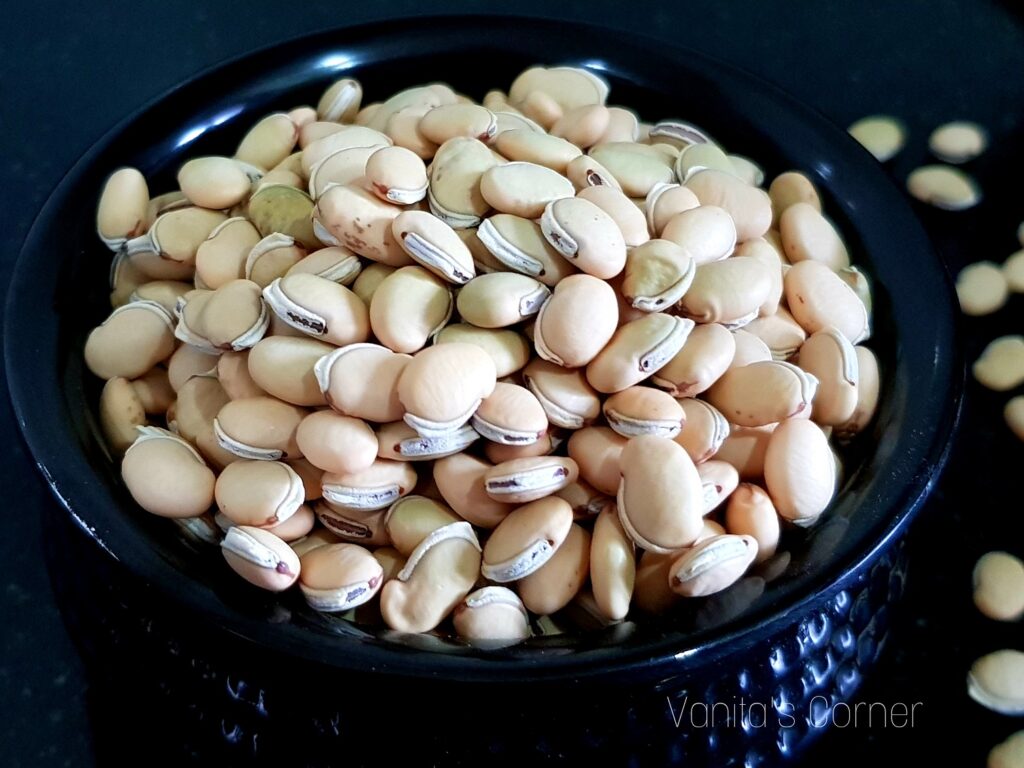
Today, let us see how is lima beans (vaal) sprouted and peeled. Sprouted Lima beans is used in number of Maharashtrian/ Gujarati dishes. To name a few – Vaalacha birda, Vaal khichdi, Spine gourd & Vaal sabzi etc.
Method
- Soak lima beans (vaal) in water for 10 to 12 hours.
- Soaking helps the outer layer of the seeds to soften.
- The seeds will absorb water and swell up.
- After 10 to 12 hours, drain the water and transfer the soaked seeds to a strainer.
- Keep the strainer on a vessel which is smaller in size than the strainer. (Watch the video below for proper understanding) This helps in proper air circulation as the strainer is exposed to air.
- Cover the strainer with a lid.
- Keep this in a warm place for minimum 12 hours.
- After 12 hours, open the lid.
- The seeds would be germinated.
- Transfer the germinated seeds to a large bowl.
- Add sufficient water to the sprouted seeds and keep aside for 15 minutes.
- Adding of water helps to peel the beans easily.
- Now, using the thumb and index finger, press each bean gently to peel the beans.
- These peeled vaal can be used to make Vaalacha birda, Vaal Khichdi etc.
- If the seeds/pulses that are soaked have not germinated even after 12 hours, sprinkle some water on the seeds, cover and keep aside for some more time. Ensure proper air circulation.
WATCH PROCEDURE VIDEO:
Thank you for stopping by.
Do follow me on Instagram, Facebook and Pinterest.
Subscribe to my youtube channel for easy video recipes.
Happy Cooking!!


